


The lazy way to create and sell NFTs
A step-by-step guide to creating your first NFT art, wallet and listing on the NFT marketplace


Table of contents
NFTs, NFTs and NFTs and the craze among netizens is growing every day. We have even heard about gifs and jpeg images which are selling in millions of dollars. So, why are people buying these digital images at such a high cost and how can such people who are creating such type of NFTs be able to create and sell them on the marketplace?
There are several ways to create and list your NFTs on the marketplaces, but here I'm going to show you the easiest way to create an NFT and sell it on opensea.io or rarible.com
But wait, are you even aware of what NFTs really are, if not then Google it. So, it's the digital ownership of any digital assets that can be sold and traded and is stored in blockchain, where there is no central authority between two people. With the help of tokens, you can do the transaction securely when buying any NFTs. NFT ledgers claim to provide a public certificate of authenticity or proof of ownership.
Now you have got what NFTs are, so let's dive into the process of creating NFTs, wallets, and listing on the popular marketplace to create your token...
Creating an NFT
There are several ways to create NFTs by using any photo editing software or online websites either manually or by generating artwork with the help of AI.
But here we are using a simple way possible to create NFTs manually in less than a minute.
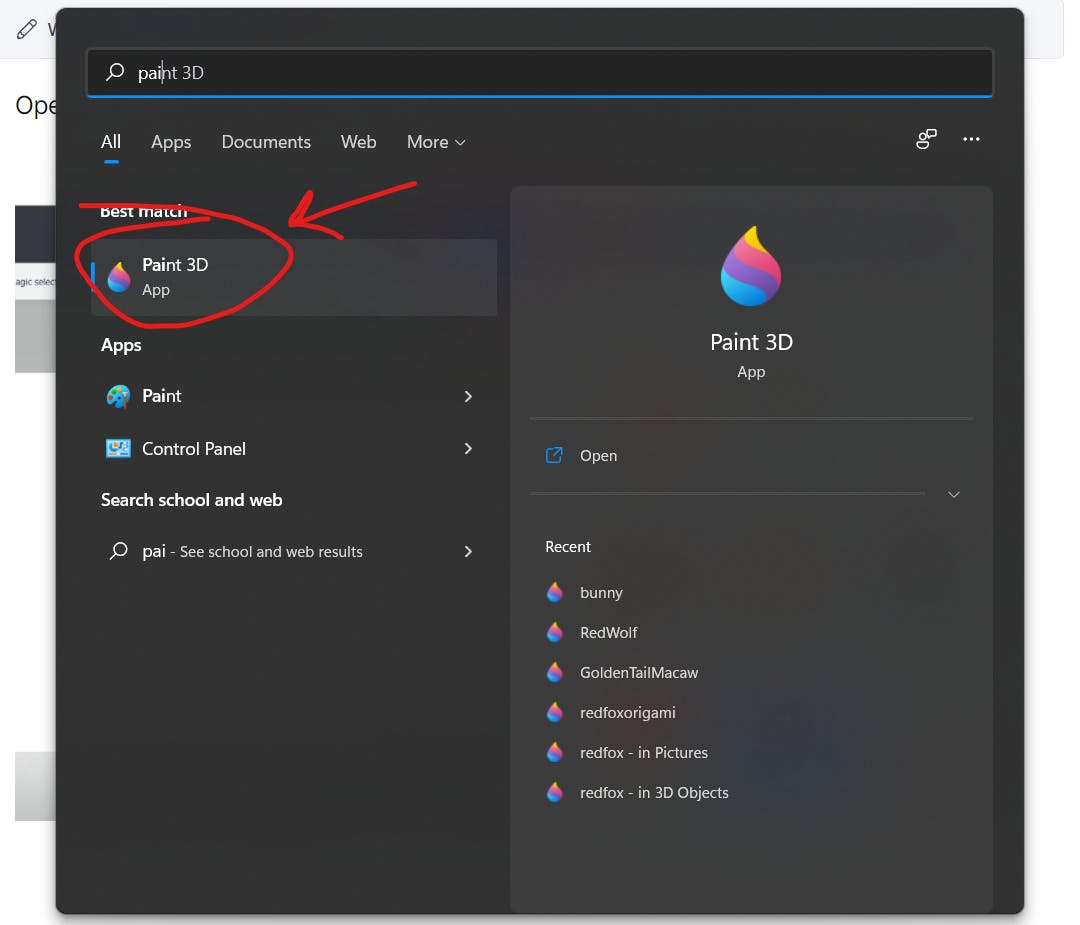
Using Paint 3d on windows:
Open Paint 3D, click on the 3D library and select any object of your choice.
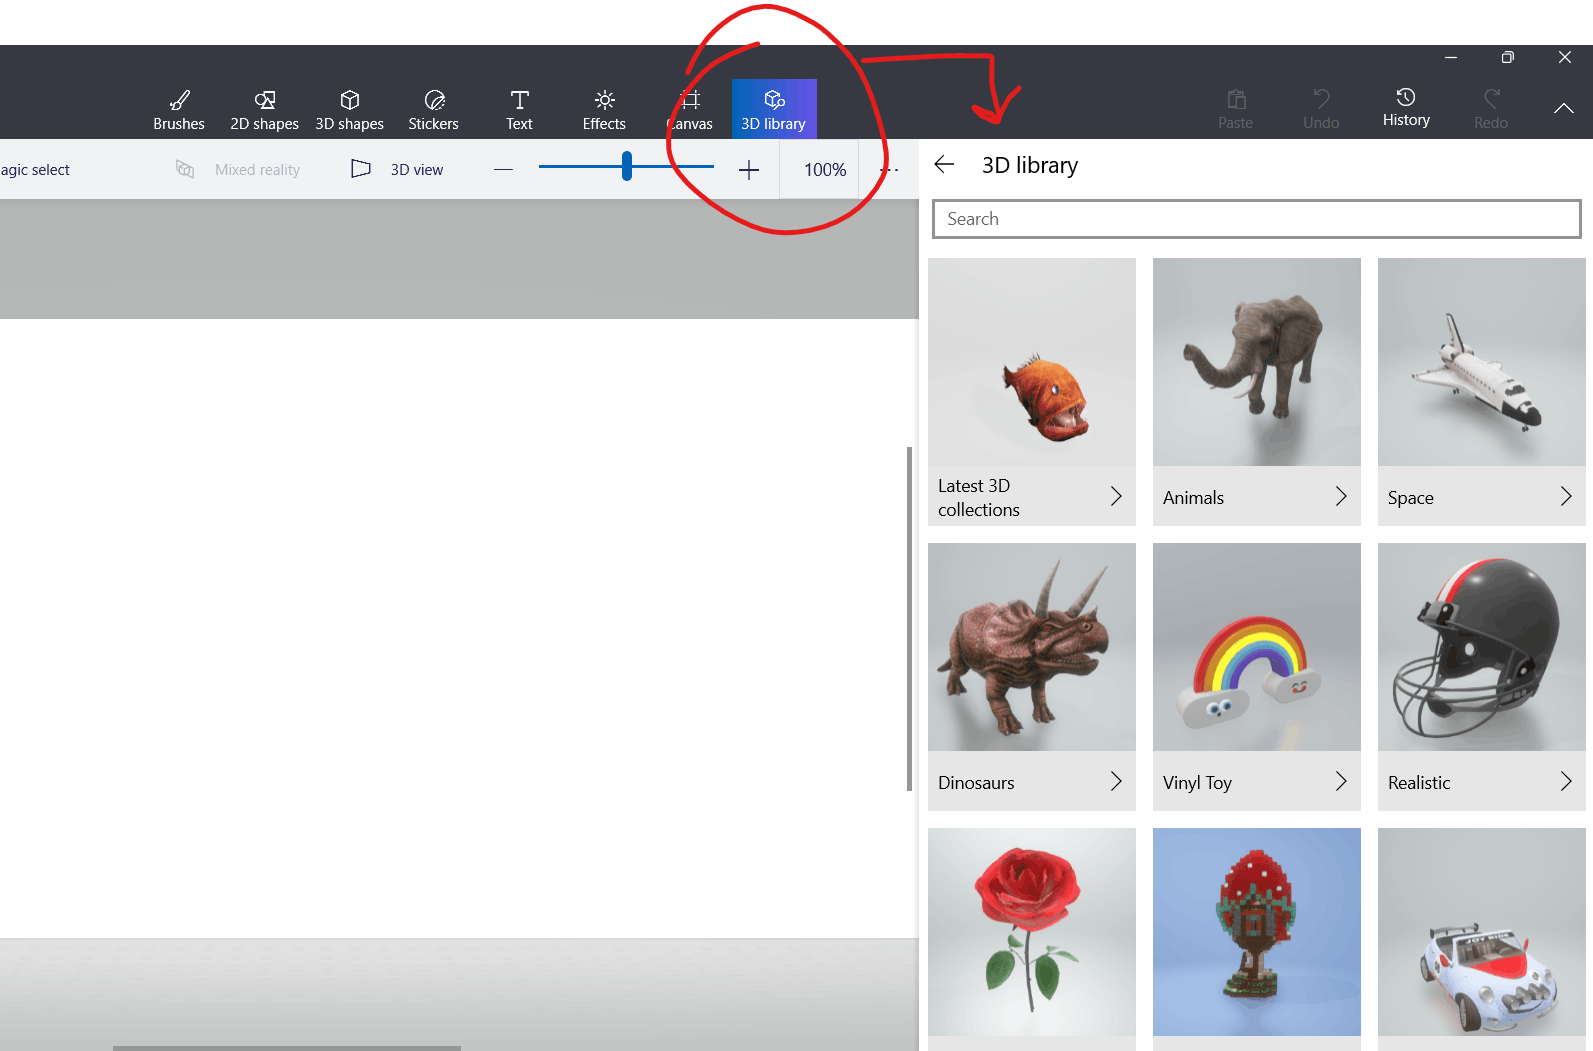
Now, click on the effects to change the shade of the object you have selected.
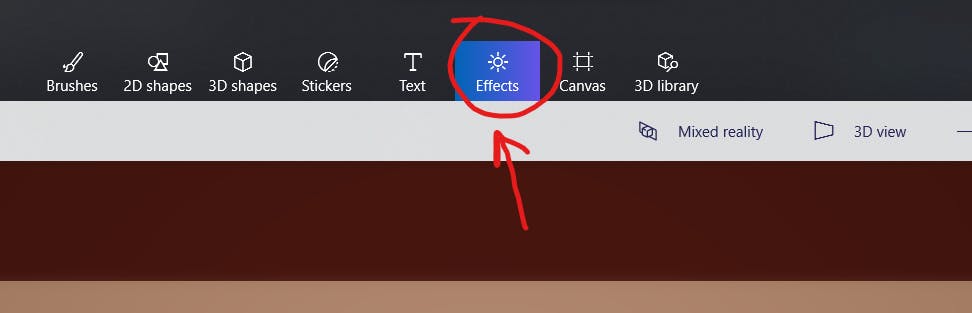
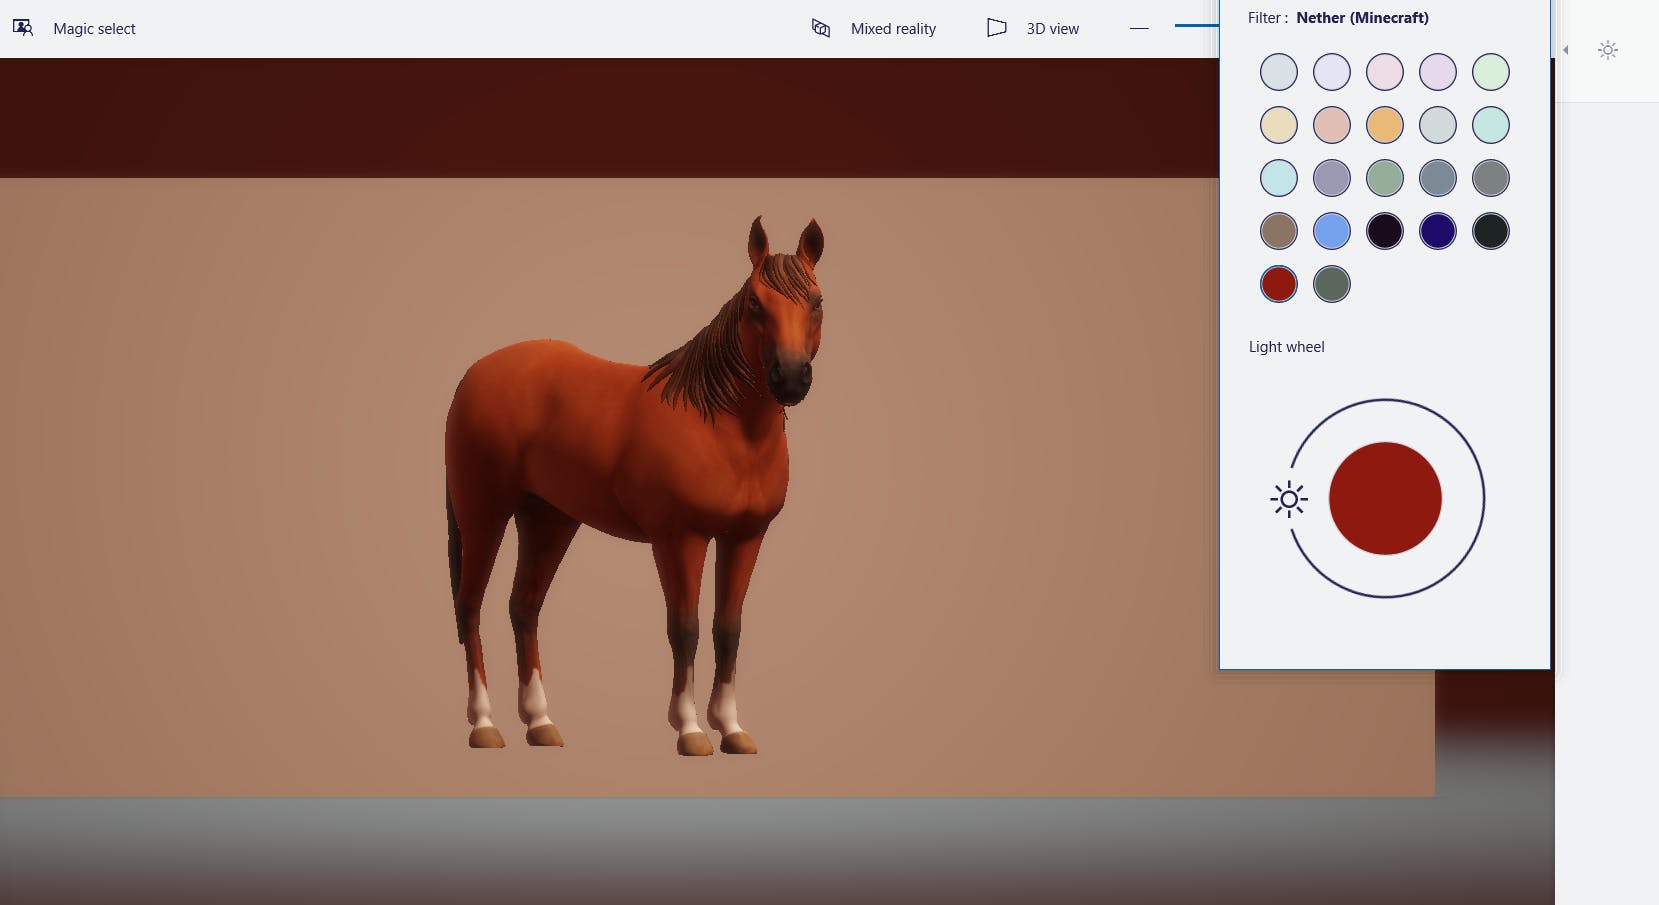
After changing the shade of the object, simply crop the image and save it as an image. So, you've created your first NFT art, you can create as much art as you like.
Creating a wallet
Before uploading your NFT art on the marketplace, make sure you have a wallet installed on your browser.
If not, we'll create it now.
There are many crypto wallets and you can use any one of your choices. Here, I'm using Metamask, as it's a popular wallet for web browsers.
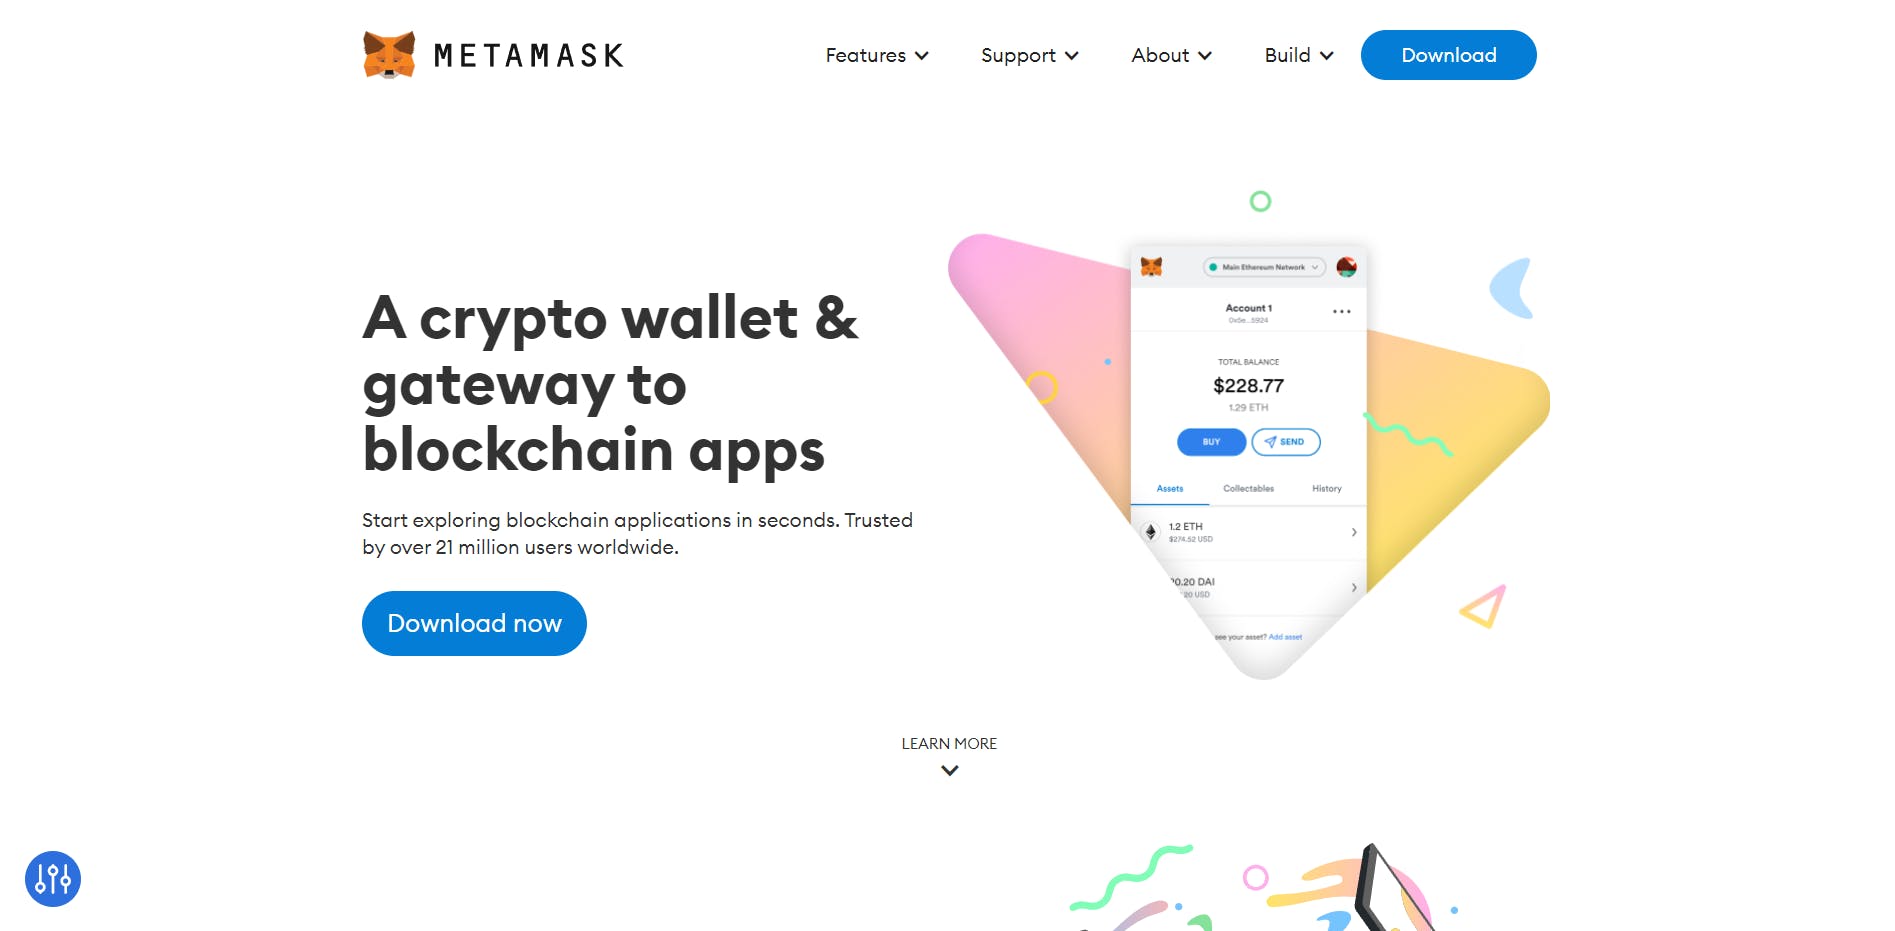
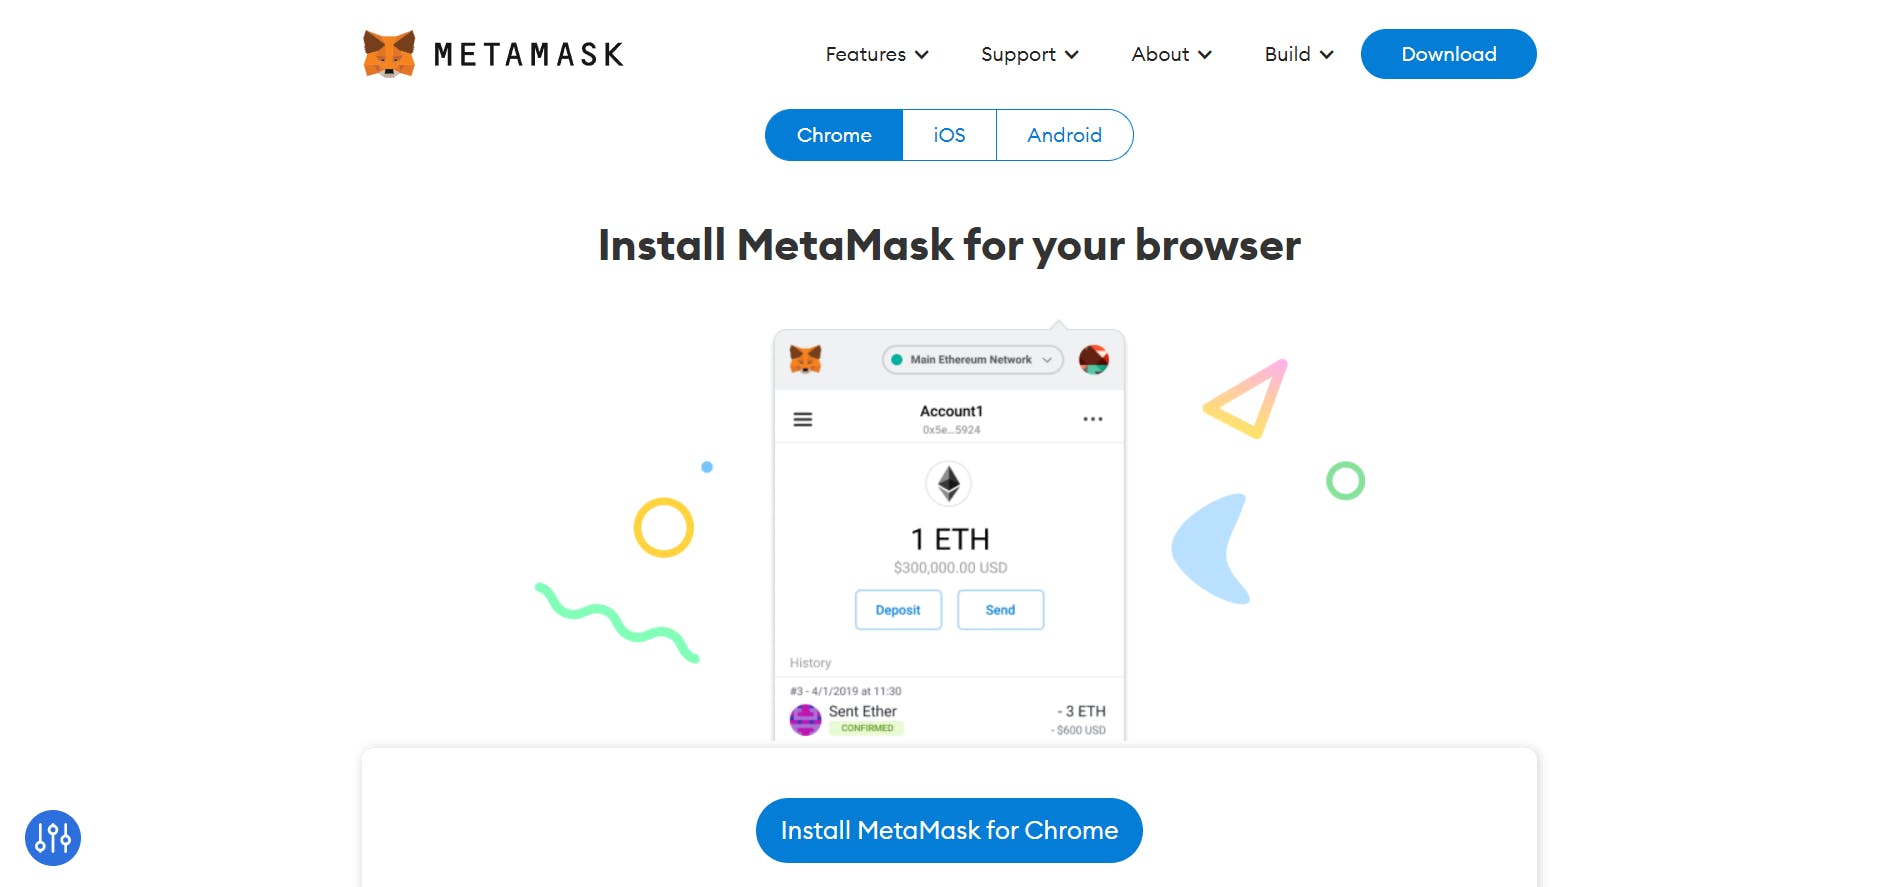
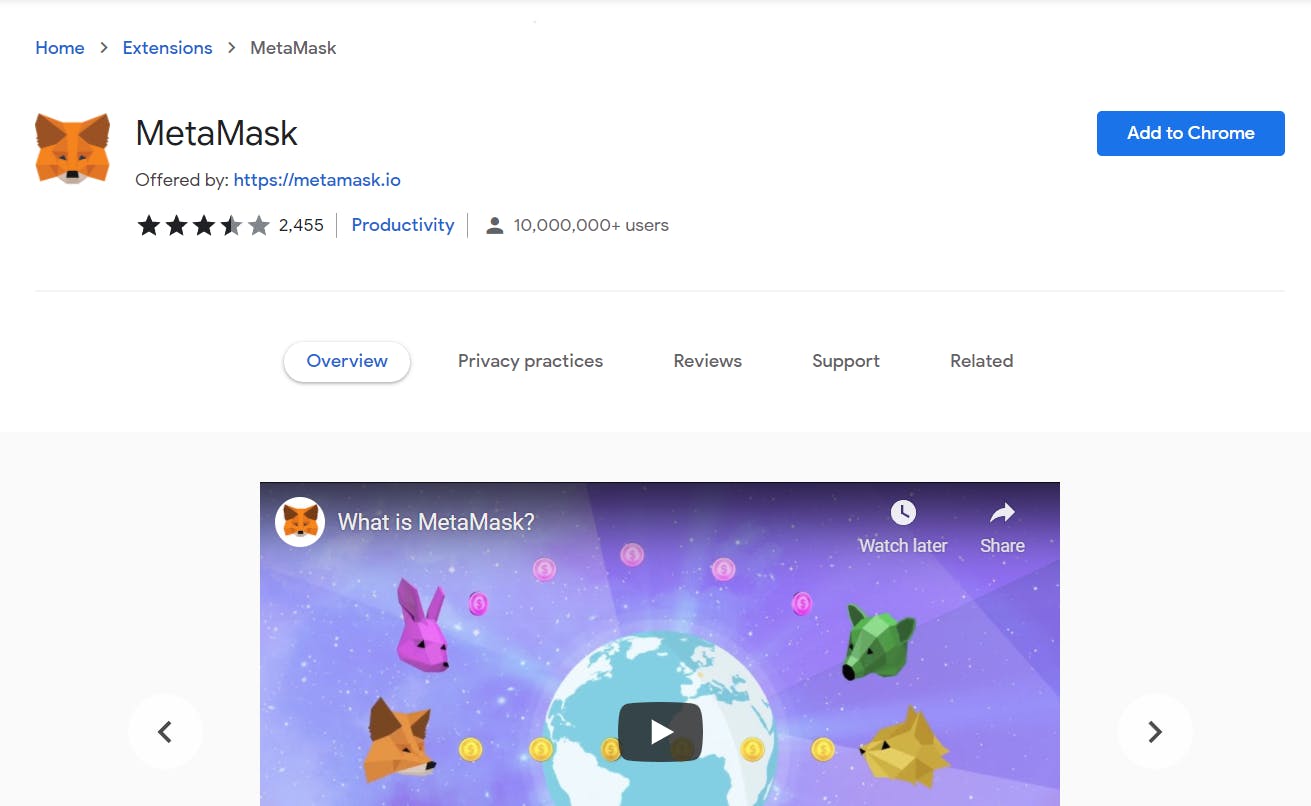
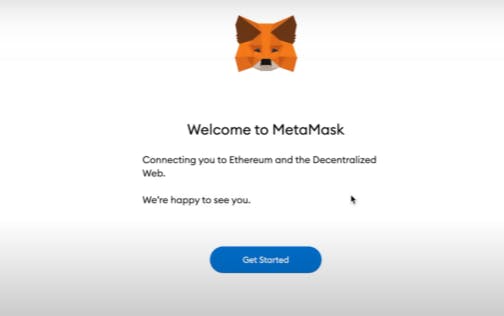
After installing the Metamask extension click on it and then click on get started.

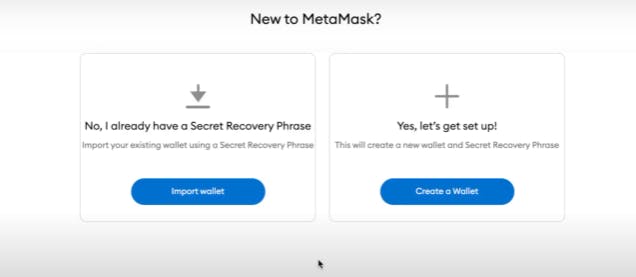
 As we don't have any wallets, so click on "Create a wallet" to set up your new wallet.
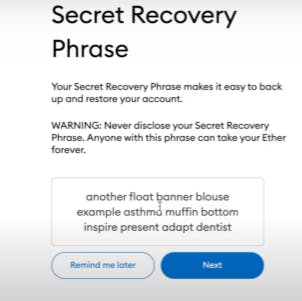
 Now, this step is important, you'll get a secret recovery phrase and you need to store it somewhere safe as it's the only way to recover your password if you forget it. so, write it down on a piece of paper and keep it somewhere safe or you can copy the phrase and store it on your OneNote and save it with a password or you can use any other online note-taking app. Make sure it is stored safely and no one knows it, except you.
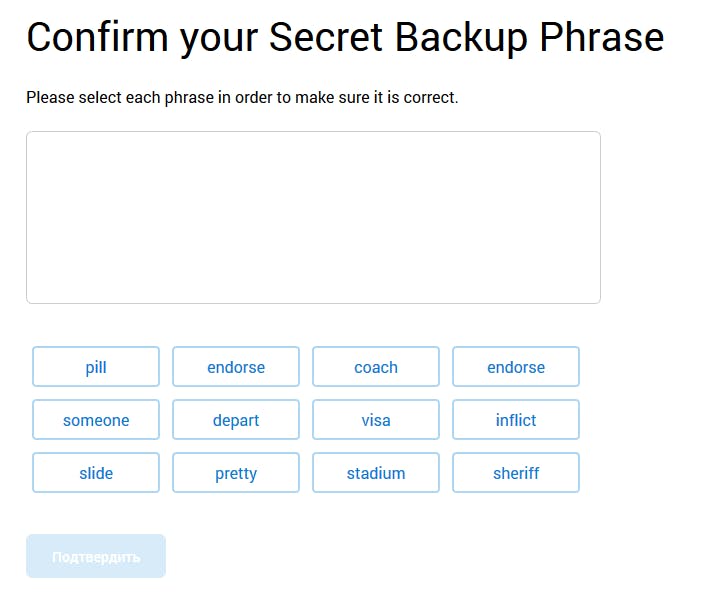
 Now, confirm your secret recovery phrase by selecting each word in order.
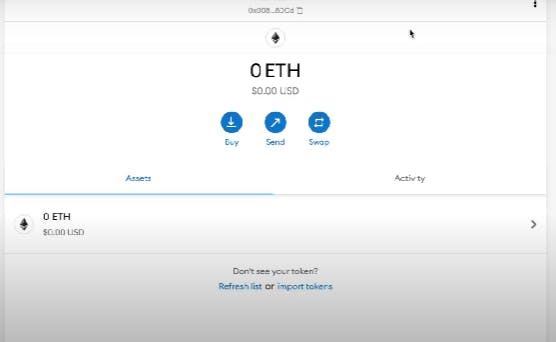
 Woohoo! your wallet is now created.
As you can see in the image, your wallet is stored in an Ethereum blockchain, you can create many wallets with other blockchain technology. But for now, let us continue with the default option.
Woohoo! your wallet is now created.
As you can see in the image, your wallet is stored in an Ethereum blockchain, you can create many wallets with other blockchain technology. But for now, let us continue with the default option.
 Now we have created our NFT art and a wallet, it's time to upload it on the NFT marketplace.
Here, I'm using Rarible, you can use other marketplaces like Opensea
Now we have created our NFT art and a wallet, it's time to upload it on the NFT marketplace.
Here, I'm using Rarible, you can use other marketplaces like Opensea
Uploading your NFT art
On the rarible website, click on sign in and click on Metamask. Then your Metamask wallet pops up from the extension, it'll ask you for the password, enter it and click on submit. Then you're logged into the rarible website. Now, you're ready to buy and sell your NFT art collection.
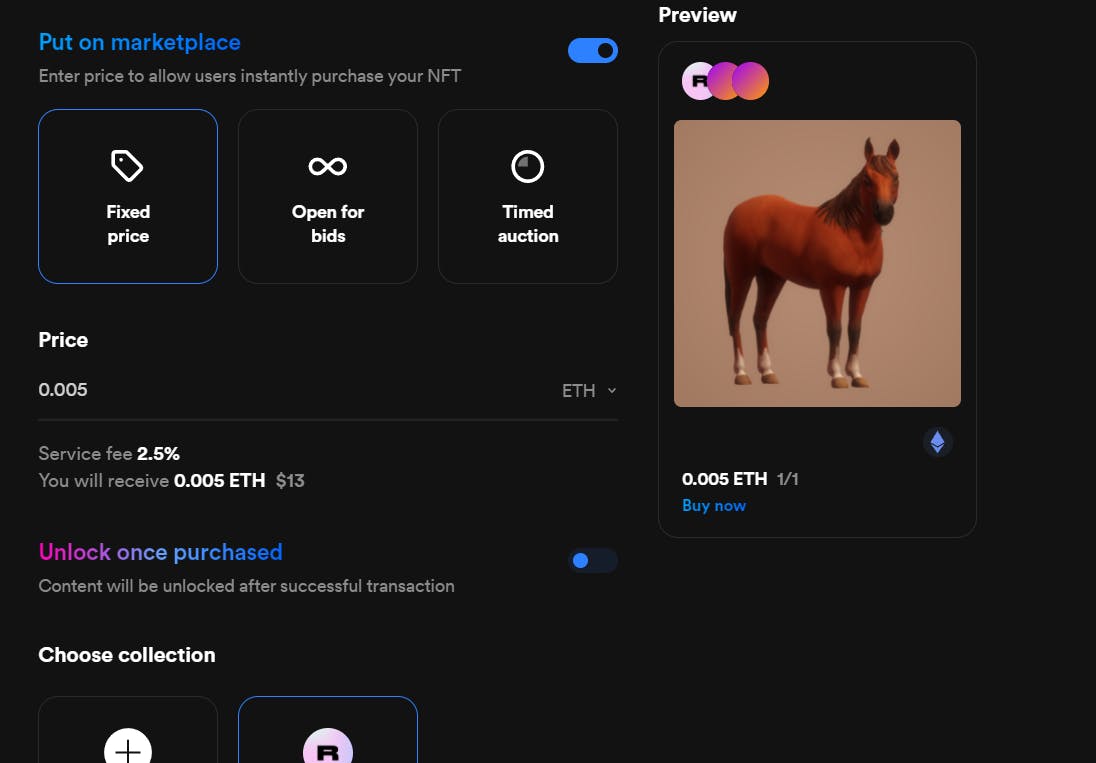
Click on create, select Ethereum as your blockchain, as your wallet is stored in the Ethereum Blockchain. Now you get two options to select: single or multiple. If you want to sell your art once, then click on single or if you want to sell your art multiple times, then click on multiple.
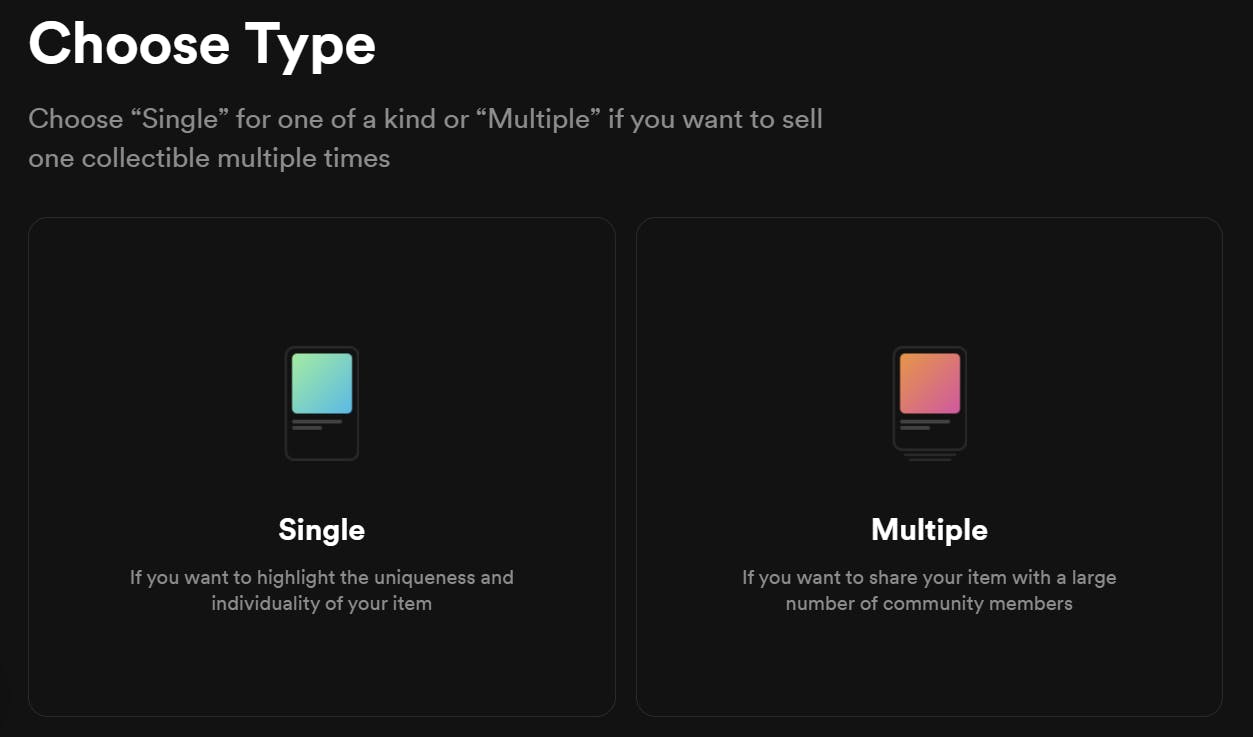 Here, I'm selecting the single option as I want to sell it for once.
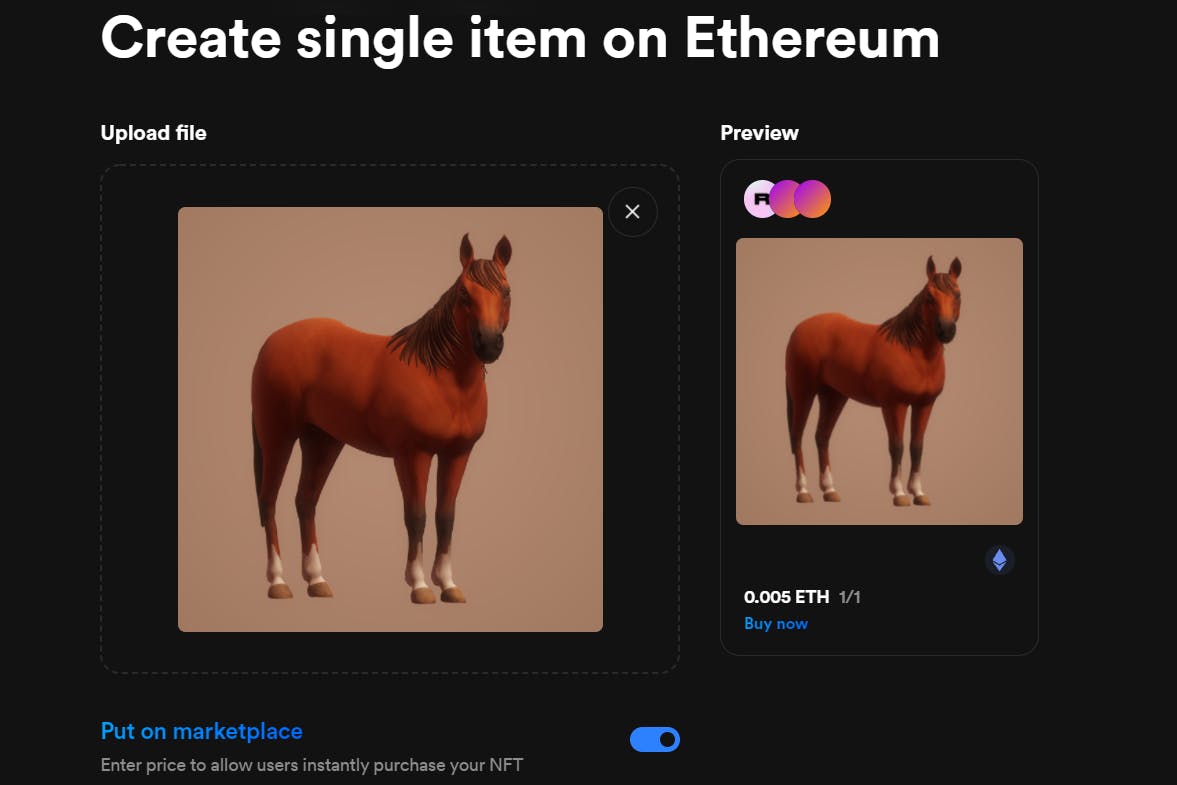
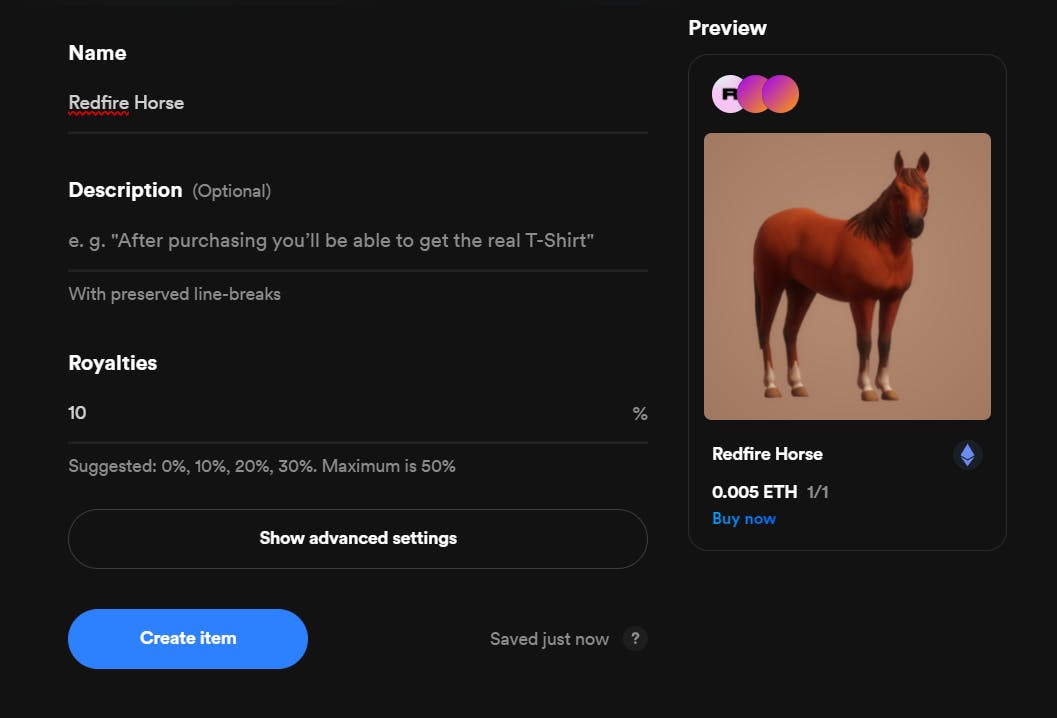
Now, upload your image, set the price for your NFT, give it a name, write a short description (optional) just continue with the default options and click on "create item".
Here, I'm selecting the single option as I want to sell it for once.
Now, upload your image, set the price for your NFT, give it a name, write a short description (optional) just continue with the default options and click on "create item".
 After you click on "create item", the item will get approved by Metamask, you need to click on "sign" to sign and approve the transaction after the notification pops up twice.
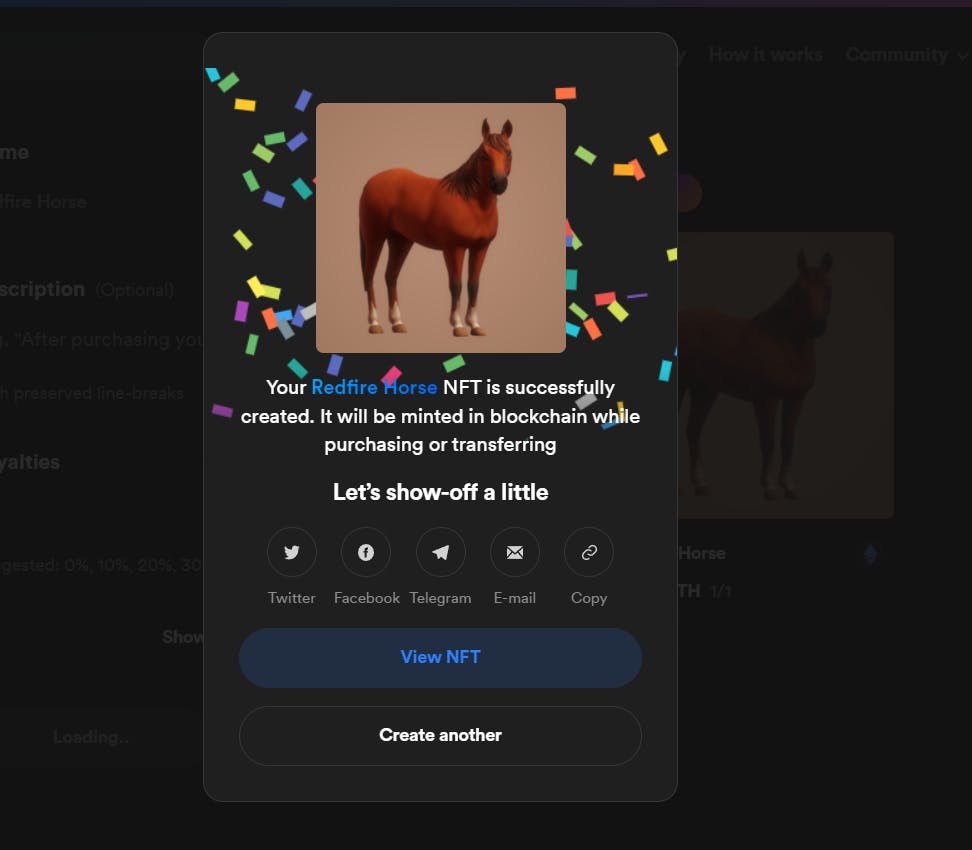 Congratulations, you have created your first NFT.
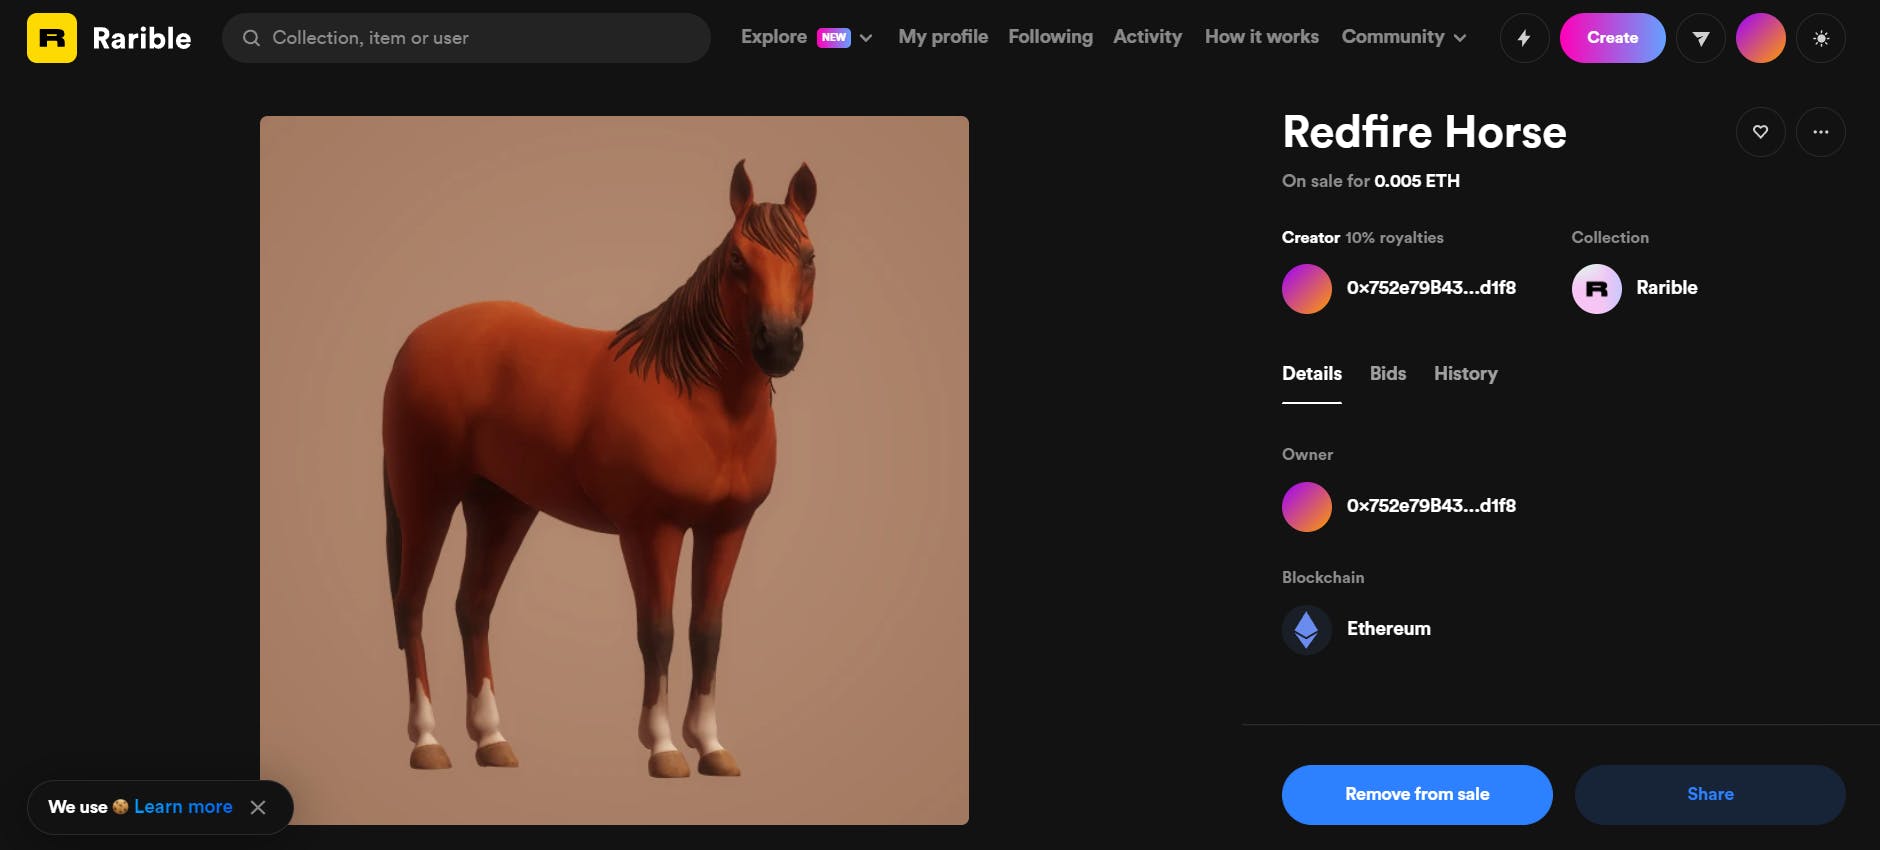 This is how you can create your NFTs and sell it online.
If you like this tutorial, share this with your friends and follow me for more blogs and tutorials on Web 3.0, Crypto, NFT and Unity games.