![Creating a Face Recognition System with Python [source code included]](https://cdn.hashnode.com/res/hashnode/image/unsplash/W2D5bsAySEM/upload/v1663324388540/fv2ptUqvo.jpeg?w=1600&h=840&fit=crop&crop=entropy&auto=compress,format&format=webp)

Photo by Johanna Buguet on Unsplash
Creating a Face Recognition System with Python [source code included]
Easy way to create a face detection and recognition by using python


A face is something that everyone sees in a person before a person introduces to others. Because of your face, people can able to recognize you, but have you ever wondered how computers recognize human faces?
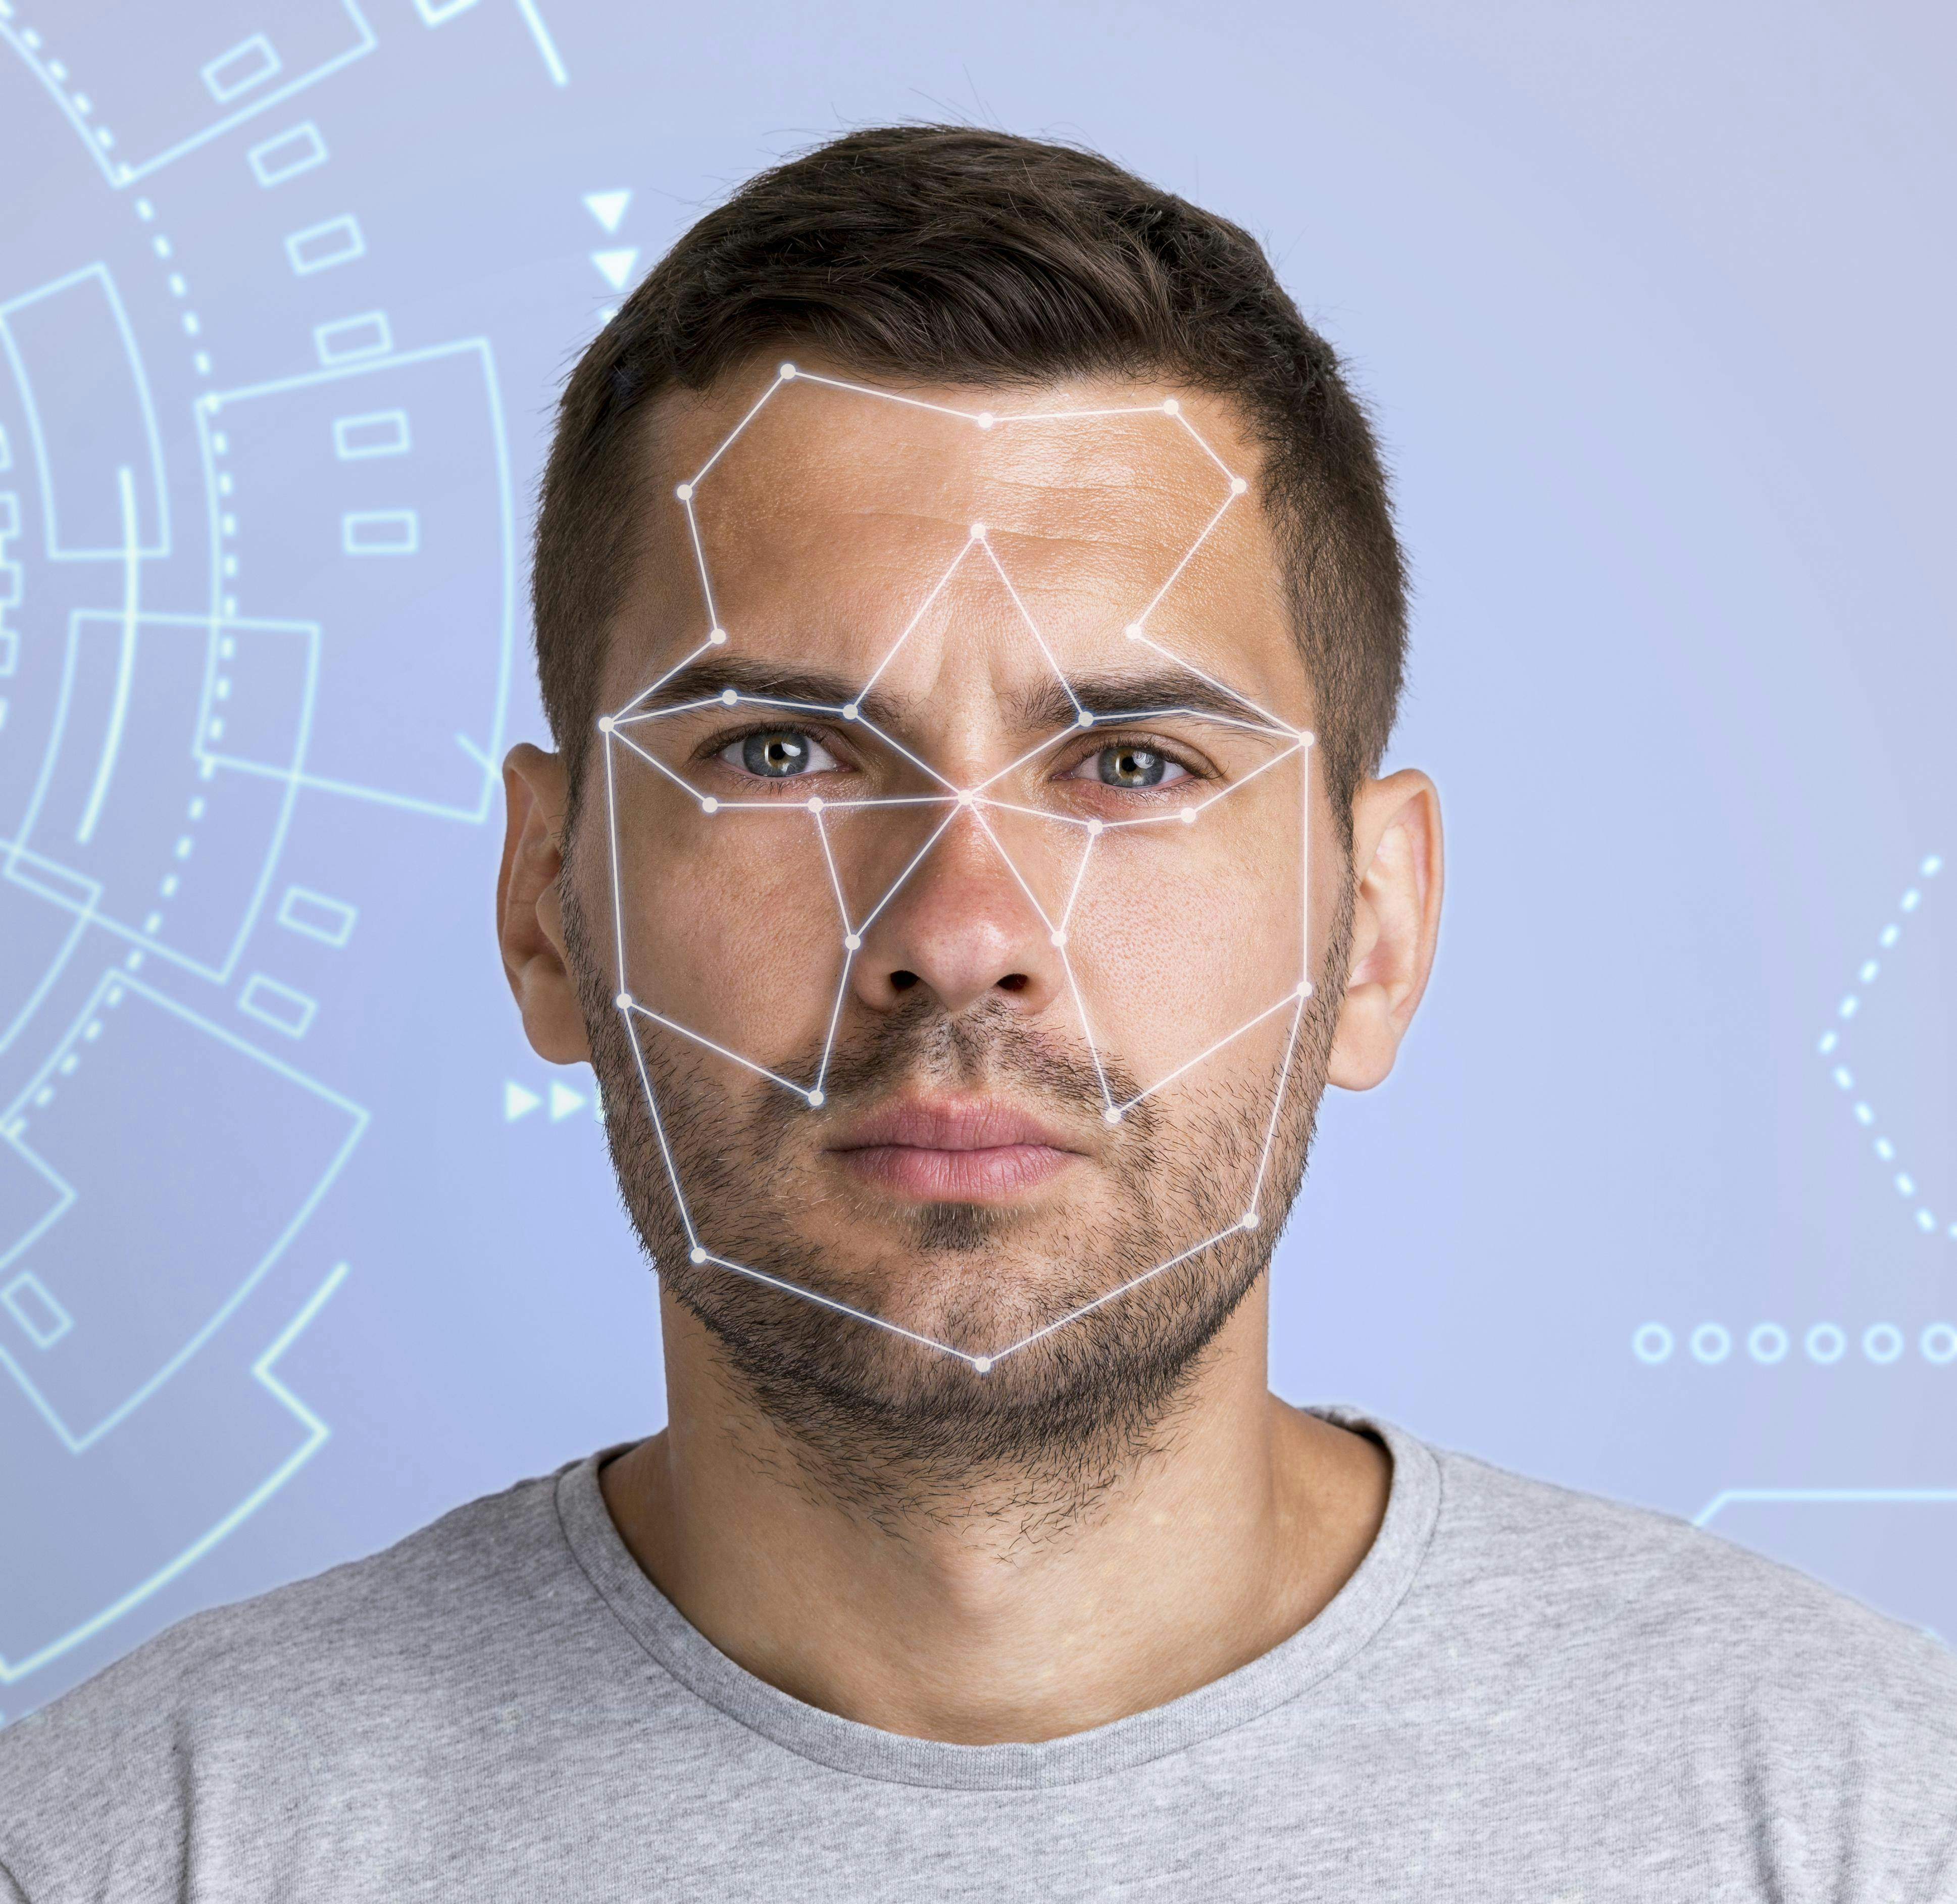
Our face has over 80 nodal points and the software measures some of those nodal points to detect a face. The nodal points can be the distance between the eyes, the width of the nose, the depth of the eye socket, cheekbones, jawline and chin.
There are 4 steps involved in a face recognition model:
1. Face Detection: It locates faces and draws bounding boxes around faces and keeps the coordinate of bounding boxes.
2. Face Alignments: It normalizes the faces to be consistent with the training database.
3. Face Extraction: It extracts features of faces that will be used for training and recognition tasks.
4. Face Recognition: It identifies a face match.
Face recognition technology is used in our day-to-day life, some of the real-world applications are school attendance systems, recognizing drivers in cars, retail crime, identifying accounts on social media, finding a missing person, airport and border security, unlocking your devices, etc.
In this article, you'll be building a face recognition system with Python easily.
Requirements
Python - 64bit version
Visual Studio with C++ installed
Download the source code
Click on this link to access the files and extract the folder to access it.
Installation
- Open the extracted folder and click on the address bar and type cmd to open the terminal for that directory.
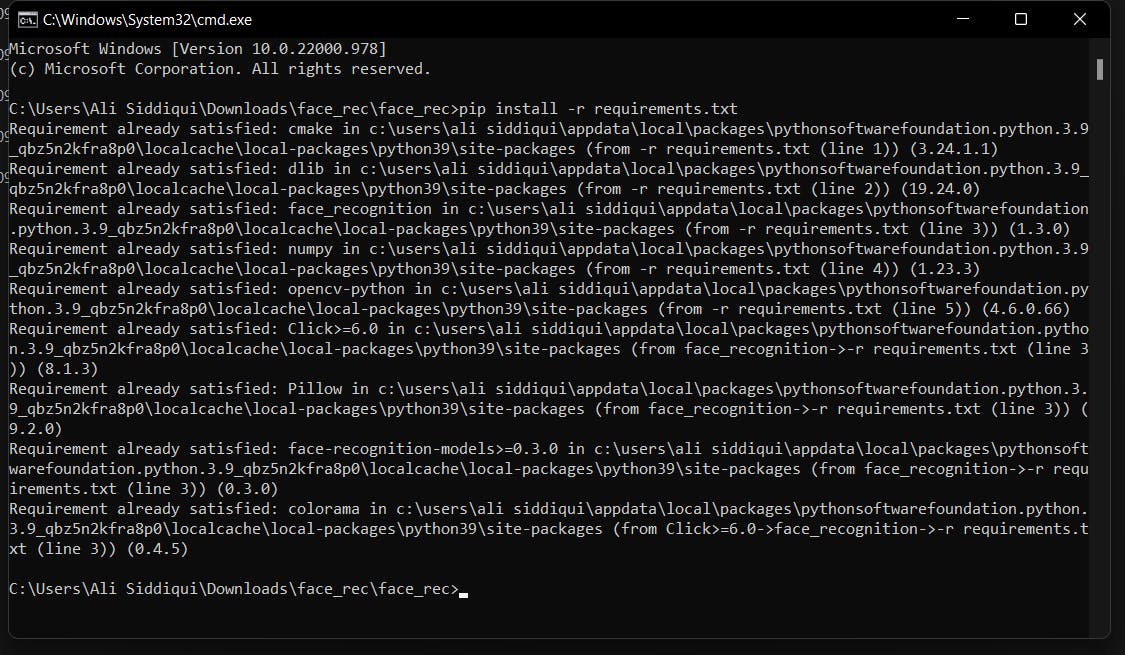
 now type this below command in the terminal to install the required libraries for our project.
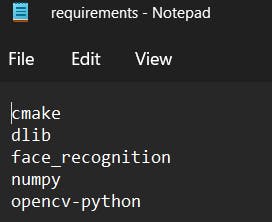
pip install -r requiremnets.txt
Instead of installing all the required Python modules individually, we are installing a file by the name "requirements.txt" that contains all the modules that we need to install all at once.
Run your code to get the output
After it gets installed, now type the name of the Python file in the terminal to see the magic!
python face_rec.py
Output:
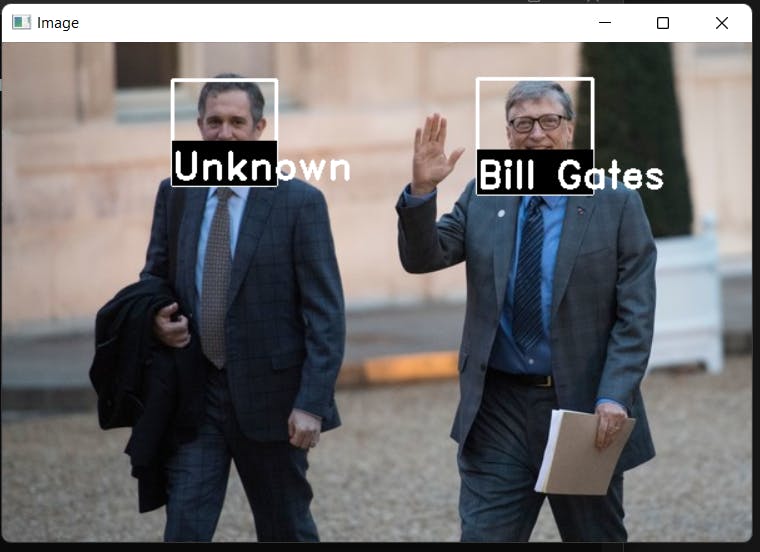 So in the output, it detects two faces but recognizes only one i.e the face of Bill Gates but not the other person, as the face of that second person is not stored in the "faces" folder and it is displayed as "unknown", instead of the name of that person.
You can try using other images based on the images available in the "faces" folder and make sure to modify the code as it will print the test.jpg file.
If you want to test other images based on the faces available in the 'faces' folder, simply drop the image from the web in the face_rec folder that has all the other files including "test.jpg" and modify the file name in the last line of the code.
print(classify_face("test.jpg"))
change the above jpg file to your new image.
for example,
print(classify_face("test2.jpg"))
Now try adding your own images inside of the faces folder with the name and place the other image with the same face included in it in the face_rec folder.
You can even modify the code based on your preferences like changing the colour and position of the squares/rectangle that is used to detect faces or changing the size and colour of the fonts and font family for displaying the names.